
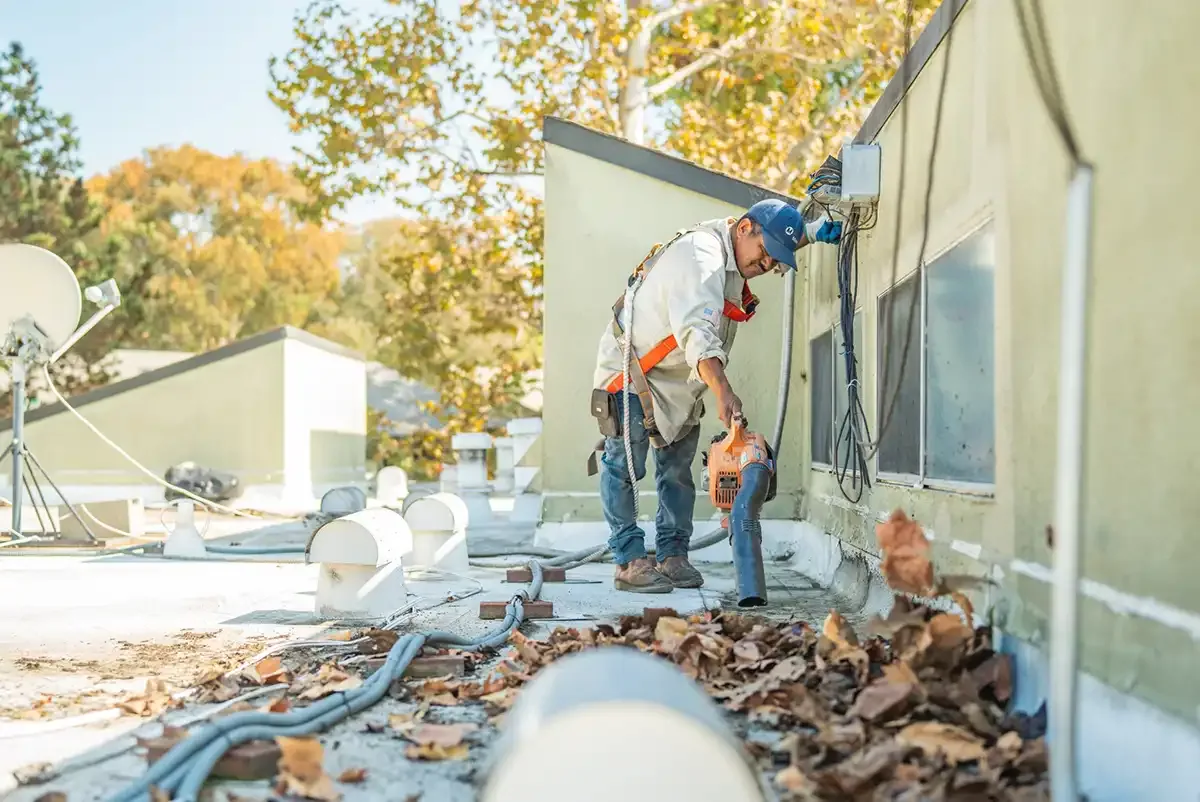
Flashing Failure Repair in Sherman, TX
Flashing failure repair in Sherman, TX: find open terminations, cracked sealant and torn base flashing at walls, curbs and penetrations, then rebuild them.
Flashing is the joint between a roof and everything that rises from it. Walls, curbs, pipes and skylights all stand on the roof, and each one moves differently from the membrane around it. Metal expands more than masonry. A membrane moves more than a curb. Every one of those movements loads the flashing, and flashing has to bend without opening.
Sherman, TX has logged 113 F at the top and -3 F at the bottom. That range works every flashing joint hard in both directions. Over years the sealant cracks, the sheet pulls away from the wall and the termination loosens. Most roof leaks begin at a flashing, not in the open field. We trace each leak back to its joint before touching a seam.
Understand how flashing opens
Flashing fails in five common ways. The sealant at the top edge dries and cracks. The termination bar loosens and lets the sheet slip. The base flashing shrinks and pulls off the wall. A corner splits where the sheet was folded. Or the flashing is simply too short, so water runs behind it.
Each failure has a signature. Cracked sealant shows hairline gaps and a chalky surface. A loose bar rattles under hand pressure. Shrinkage leaves a gap at the base and a stretched look at corners. Splits show clean edges, usually at inside or outside corners. We note the type on the roof plan, since the repair matches the failure.
Thermal movement drives most of it. On a hot afternoon the membrane expands and pushes against the wall. On a freezing night it shrinks and pulls away. A flashing that is fastened rigidly at both ends cannot absorb that travel, so it splits or peels. Good flashing leaves room to move. A pull at one end, a slack loop in the middle and a free edge at the top let the sheet shift without tearing. Seams in the flashing sheet are a second weak point, and a failed seam in a base flashing leaks as quickly as one in the field.
Walk every joint in order
A roof has dozens of flashings, and a leak can hide at any of them. We walk the roof in a fixed order. Parapet walls come first, then curbs and equipment, then pipes and vents, then skylights, then expansion joints. At each point we check height, attachment, sealant and the condition of the sheet.
We also run a moisture scan around each suspect joint. Water that enters at a flashing travels through the insulation, often in a line, and shows up far from the source. A scan follows that line back to the entry. Core samples confirm it. Without that step, a patch goes on the wrong spot and the leak returns with the next rain. Any broader commercial roof leak repair begins at these same joints, since flashing is where most water enters.
Rebuild the weak details
Curbs and penetrations need their own attention. A rooftop unit sits on a curb, and the curb needs a wrapped flashing with a counterflashing above it. Pipes need a boot or a pitch pocket. Skylights need a curb flashing with a clean upper edge. A drain needs a clamping ring that grips the sheet.
On a plant with rooftop exhaust and process units, these details multiply. The city's plants range from food processing to semiconductor and laser work, and each can carry many penetrations. The equipment curbs and supports and the skylight and penetration flashing are checked one at a time. We check for two things first: whether the flashing is tall enough, and whether it is fastened at the top.
Account for the weather load
Sherman receives about 44.3 inches of precipitation a year. Rain is the steady test. Wind-driven rain pushes water sideways against walls, where it finds any gap. Hail adds a second load. Hail has come through at several sizes: half-dollar stones in a June 2025 report near Denison and dime stones north of Sadler in April 2014. Hail bruises flashing and cracks old sealant, and the damage often shows up as a leak weeks later.
Freezing weather also matters. Ice that forms behind a flashing expands and lifts it. In December 2013 sleet put four to five inches of ice on Sherman and Denison. After such an event, we recheck terminations and sealant, since small gaps open when ice thaws.
Standing water is a third load. A pool against a wall puts steady pressure on the flashing there, and that problem starts with ponding water on the field. When both problems share a joint, the slope is fixed first and the flashing rebuilt after, or the new joint will fail for the same reason.
Replace, do not smear
The wrong repair is a bead of sealant over a failing joint. It looks fast and cheap. It lasts one season. Sealant is a seal, not a structure, and it cannot hold a joint that has moved.
The right repair removes the failed material. We clean the surface, rebuild the flashing with new membrane or metal, fasten the top edge with a termination bar and seal the top with a compatible sealant. Corners get pre-formed pieces. Where a wall is rough, we prepare the substrate first. Last, we test the repair with water and photograph it. On a rubber membrane roof the base flashing is spliced to the field sheet with tape or adhesive, and the joint is rolled and checked.
Counterflashing deserves a note. It is the metal cap that overlaps the top of the base flashing and sheds water over it. Where a wall has a reglet, a groove cut into the masonry, the counterflashing tucks into it and is sealed. If the reglet is cracked or the metal has rusted through, the base flashing below it takes water it was never meant to take. We replace rusted metal and re-cut cracked reglets before the new base flashing goes on.
Expect this on site
The first visit is a walk and a scan. The crew photographs each flashing and marks failures on a plan. Temporary seals go on any joint that leaks while work is pending. Then the repair is staged in sections, and only the joints under repair are open.
Tenants are told when work will happen above them. Debris is contained, and walkways stay clear. For a plant like those at Progress Park or in Denison, access is coordinated with the shift schedule. The owner receives a photo set, a list of repaired joints and notes on any that need watching. A joint that cannot be saved is flagged for the next capital budget.
Commercial Roofing Questions
How can I tell a flashing leak from a seam leak?
Flashing leaks sit near walls, curbs or pipes. Seam leaks sit in the open field.
Is sealant a lasting repair?
No. Sealant closes a small gap for a season. A joint that moved needs new flashing.
How long does flashing last?
It depends on the material and the exposure. Heat cycling and sun shorten it, so we inspect it each year and record its condition.
Can flashing be repaired during rain?
A temporary seal can go on in rain. Permanent work needs a dry joint.
What does a flashing report include?
A roof plan, photos of each failure, moisture readings and a repair list with cause for each joint.
Do hail and ice damage flashing?
Yes. Hail bruises and cracks sealant and thin metal. Ice forms behind flashing and lifts it. Leaks from both can appear weeks after the event.
Send the address and leak history
Send the building address and any past leak history. We will walk the roof, scan around each joint and explain what the readings show.
Related Roofing Work
Seam Failure Repair
Seam failure repair in Sherman, TX: probe, weld, tape and re-seal split membrane laps, then scan for the wet insulation that open seams leave behind.
Commercial Roof Leak Repair
Tracing and stopping active commercial roof leaks in Sherman, TX with moisture mapping, water testing and repairs matched to the real entry point.
Rooftop Equipment Curbs and Supports
Rooftop unit curbs, equipment rails and pipe supports for Sherman, TX commercial roofs: load paths, curb flashing, vibration, walkway wear and timing.
Skylight and Penetration Flashing
Skylight, curb and penetration flashing repair for commercial roofs in Sherman, TX: pipe boots, vent stacks, dome seals and curb details that stop leaks.